Plane Shading
To make things look a bit more 3D we need to have a more realistic shading model and add some lights.
Types for Lighting
Let's add some more types:
Light. Base class for all types of light. Stores the colour of the light (I'm not doing anything more complicated for now) and defines an abstract methodGetLightRayToPoint- this will return the ray of light that heads from the light towards the point.PointLight. Implementation of light that emits from a point in space.
Our scenes will probably need a general ambient light as well, however I haven't made a class for this that extends light. Reason being is that ambient light is quite different as it is the same in all directions and does not cast shadows. I've found it simpler to treat it as just a colour value for the scene.
Our Scene class has also been extended to keep a list of all the lights in the scene.
Types for Shading
Now onto the shading:
ShadingModel. Base class for different shading models. Designed to be plugged into theRayTracingalgorithm class so that the same scene can be rendered with different shading models. Defines a single abstract method so far,ShadePoint. This determines the shading for a given point on a given scene object.Uniform. Implementation ofShadingModelthat just returns the colour of the scene object, irrespective of the point on it or any lights in the scene. This is effectively the model we had already - plugging it in will produce the boring blue sphere we've already created.Lambertian. Implementation ofShadingModelthat uses Lambertian reflectance.
Lambertian Reflectance
This is a simple shading model that models an ideal diffusely reflecting surface. This can be expressed as follows:
\[ C = \mathbf{L} . \mathbf{N} C_S C_L I \]
Where:
- \( C \) is the final colour of the point.
- \( \mathbf{L} \) is the normal vector from the point to the light.
- \( \mathbf{N} \) is the normal vector from the surface.
- \( C_S \) is the colour of the surface.
- \( C_L \) is the colour of the light.
- \( I \) is the intensity of the light at the point.
Our Light class gives us a ray (\( \mathbf{R} \)) from the light to the point, therefore \( \mathbf{R} = -\mathbf{L} \). And for now our lights have constant intensity (i.e. the intensity doesn't decrease with distance) so the equation becomes:
\[ C = -\mathbf{R} . \mathbf{N} C_S C_L \]
This is per light of course so we need to sum over all the lights and we need to add the ambient light (\( C_A \)) giving us:
\[ C = C_S C_A - \sum_{i} \mathbf{R} . \mathbf{N} C_S C_{Li} \]
We have all the values for this except the surface normals. We can tweak the NearestIntersection method on our Object class to return this as well as the point of intersection. We only have one shape so far, spheres, and calculating the surface normals for those is simple - it will just be the (normalized) vector from the centre to the point of intersection.
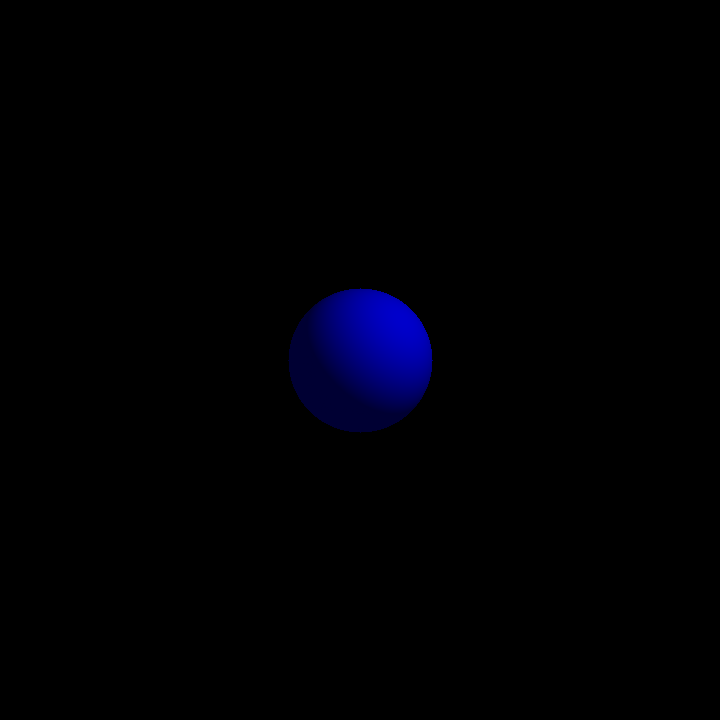
Adding a point light to our scene and using this new shading model gives us a nice 3D looking blue sphere:

Shadows
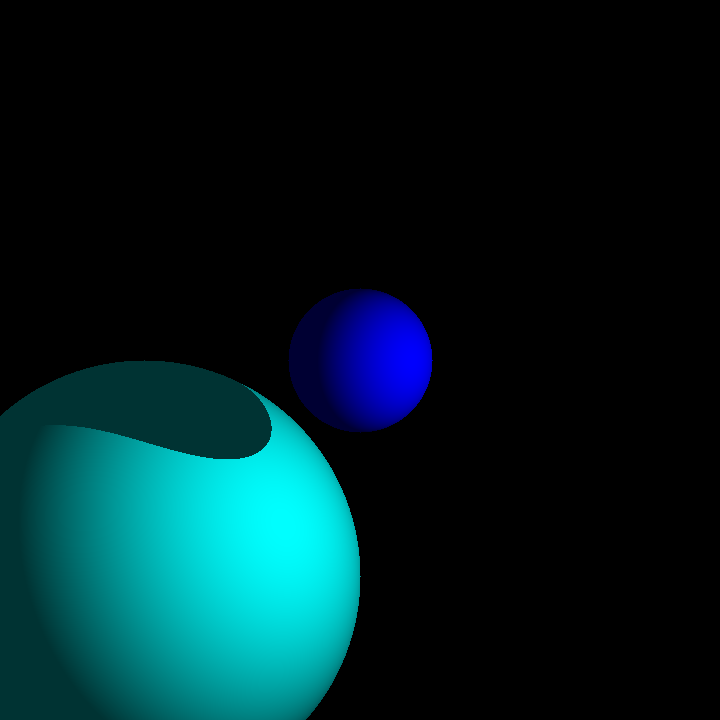
So far all our lights contribute to the final colour of a point. However there might be an object in the way of the light and the target point, i.e. the point is in shadow. This is fairly easy for us to work out as we have a ray from the light source to the point we're trying to colour. We therefore know the distance from the light source to the point, so we can just loop over the other objects in the scene, find out if they intersect with the light ray and if they do see if they are closer to the light source than the object. If they are they must be blocking the light source so we don't bother adding that lights contribution to the overall colour. With this we can now cast a shadow from one sphere to another:

A flat surface would show shadows much better though, so let's add plane as another object type.
Planes
The equation of a plane is:
\[ ( \mathbf{P} - \mathbf{p} ) . \hat{\mathbf{n}} = 0 \]
Where:
- \( \mathbf{P} \) is a vector to a general point on the plane.
- \( \mathbf{p} \) is a vector to a specified point on the plane.
- \( \hat{\mathbf{n}} \) is the normal vector to the plane.
As with the sphere we will need to work out where a ray intersects with the plane. Taking our ray equation \( \mathbf{R} = \mathbf{O} + d \hat{\mathbf{D}} \) the intersection will be when \( \mathbf{P} = \mathbf{R} \). Plugging the equations together and rearranging for \( d \) gives us:
\[ d = \frac{ (\mathbf{p} - \mathbf{O}) . \hat{\mathbf{n}} }{ \mathbf{D} . \hat{\mathbf{n}} } \]
If \( \mathbf{D} . \hat{\mathbf{n}} \) is zero the ray must be parallel to the plane - no intersection. The one exception to this would be if \( (\mathbf{p} - \mathbf{O}) . \hat{\mathbf{n}} \) was also zero - that would mean the ray was in the plane. We'll treat this case as no intersection too. Lastly if \( d \) is negative then the line of the ray only meets the plane behind the ray's origin - no intersection.
To calculate the surface normal we need to know if the ray intersects above or below the plane, where 'above' is defined as being in the direction of the surface normal. If we we considered a vector from the intersection point to the light (\( \mathbf{L} \)) then \( \mathbf{L} . \hat{\mathbf{n}} \) would be positive if the angle between the two (\( \theta \)) was 0° -> 90° (i.e. above) and negative if the angle was below (i.e. 90° -> 180°) as \( \mathbf{L} . \hat{\mathbf{n}} = \| \mathbf{L} \| \| \mathbf{\hat{\mathbf{n}}} \| \cos\theta \). Our vector goes in the opposite direction (from the light to the point) so therefore:
- If \( \mathbf{D} . \hat{\mathbf{n}} < 0 \) the surface normal = \( \hat{\mathbf{n}} \).
- If \( \mathbf{D} . \hat{\mathbf{n}} > 0 \) the surface normal = \( -\hat{\mathbf{n}} \).
The Camera
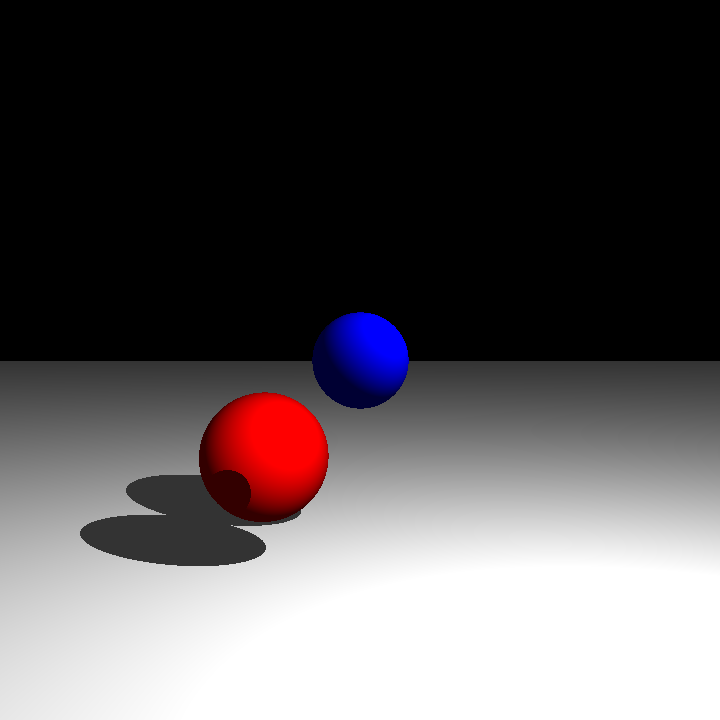
If we tried to use a plane for the ground at this point we wouldn't actually see anything! This is because currently our light rays go straight into the scene, parallel to the ground. Instead we need to simulate the camera as being in the centre but a bit behind our view - then the rays will angle down towards the ground and we will see the plane. This is simple to do - just add a distance from the view to the camera to our ray tracing algorithm and adjust the code that creates the rays to trace to use the camera point to give the correct direction. We will still keep the origin of the points as the view however so we can have the camera as far back as we want without worrying about objects between the camera and the view. Putting all this together lets us cast shadows onto a plane:

The code so far can be found on GitHub. Next I'll look at adding so textures to the objects.