Phong and Reflections
Next up is improving the shading model and adding reflections.
Phong Reflection Model
The Phong reflection model adds to Lambertian reflectance with a term for specular highlights, the sharp highlights you see on shiny surfaces. The equation for Phong reflectance is:
\[ C = k_A C_A + \sum_{i} (k_D \hat{\mathbf{L}} . \hat{\mathbf{N}} + k_S (\hat{\mathbf{R}} . \hat{\mathbf{V}})^\alpha ) C_{L,i} I_i \]
Where:
- \( C \) is the final colour of the point.
- \( k_A \) is the ambient colour of the surface.
- \( C_A \) is the ambient light colour.
- \( k_D \) is the diffuse colour of the surface.
- \( \hat{\mathbf{L}} \) is the normal vector from the point to the light.
- \( \hat{\mathbf{N}} \) is the normal vector from the surface.
- \( k_S \) is the specular colour of the surface.
- \( \hat{\mathbf{R}} \) is the direction a ray from the light would go if it was perfectly reflected at the point.
- \( \hat{\mathbf{V}} \) is the direction from the point to the viewer.
- \( \alpha \) is the shininess of the surface. The higher the value the smaller the specular reflection.
- \( C_{L,i} \) is the colour of light \( i \).
- \( I_i\) is the intensity of light \( i \) at the point.
All vectors are normalised and the sum is over all lights in the scene. I've kept the specular and diffuse intensities for the lights the same to keep things simple. The reflection vector \( \hat{\mathbf{R}} \) is straightforward to calculate:
\[ \hat{\mathbf{R}} = 2 ( \hat{\mathbf{L}} . \hat{\mathbf{N}}) \hat{\mathbf{N}} - \hat{\mathbf{L}} \]
Note that our materials now have three colours - one for the ambient light, one for the diffuse light and one for the specular light. By having separate colours for the different light contributions it enables us to create materials that, for example, are blue with white specular highlight.
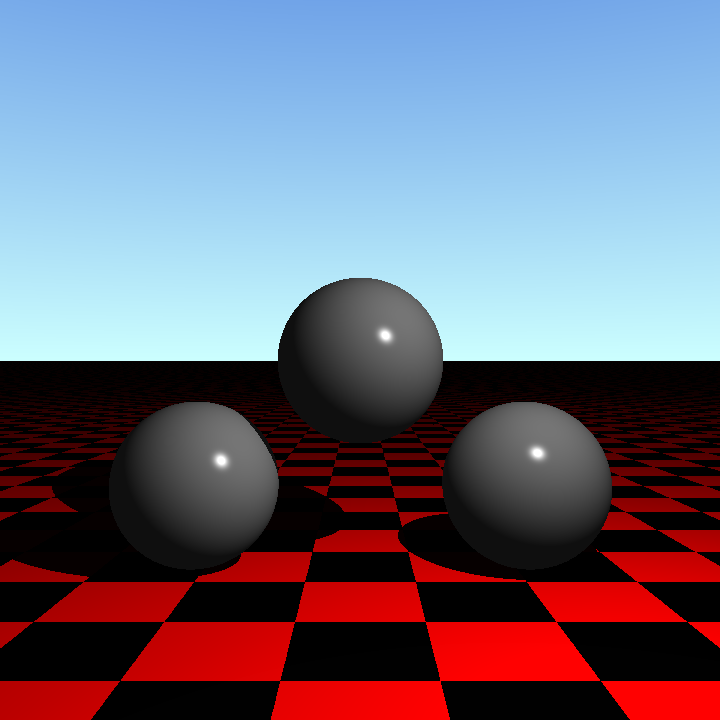
Creating a new ShadingModel subclass using the formula above gives us nice specular highlights on our spheres:
Reflections
Where would a ray tracer be without reflections? To add them to the ray tracer is fairly straightforward as we've already done the hard work. We can give our materials a reflectivity value between 0 and 1 which describes the amount of light that comes from a reflection. Therefore the amount that comes from direct lighting will be 1 - reflectivity. To work out the light coming from the reflected direction we can reuse our ray tracing algorithm, but this time we place our camera at the point on the surface and make the direction it is pointing the reflected ray \( \hat{\mathbf{R}} \). Of course the point showing in the reflection might also be reflective so we would then have to perform the same procedure recursively.
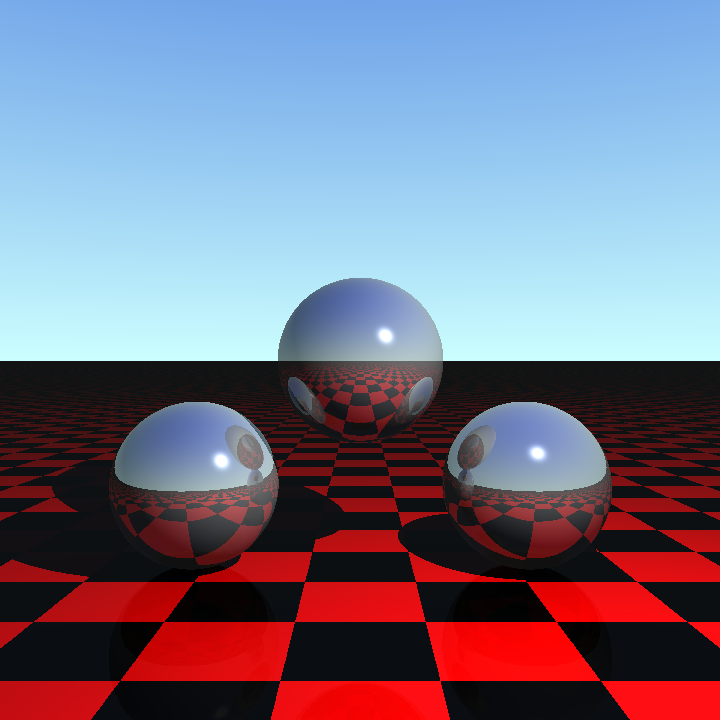
We can now render the obligatory 'reflective spheres over a chequerboard' picture that all ray tracers should produce:
There is one problem with the algorithm above - it could get into an infinite loop. If we had a scene with a camera inside a box of perfectly reflective surfaces then a ray would bounce around forever. We can prevent this by having a maximum recursion depth. The effect of the recursion depth can be demonstrated by comparing the same scenes with different values:
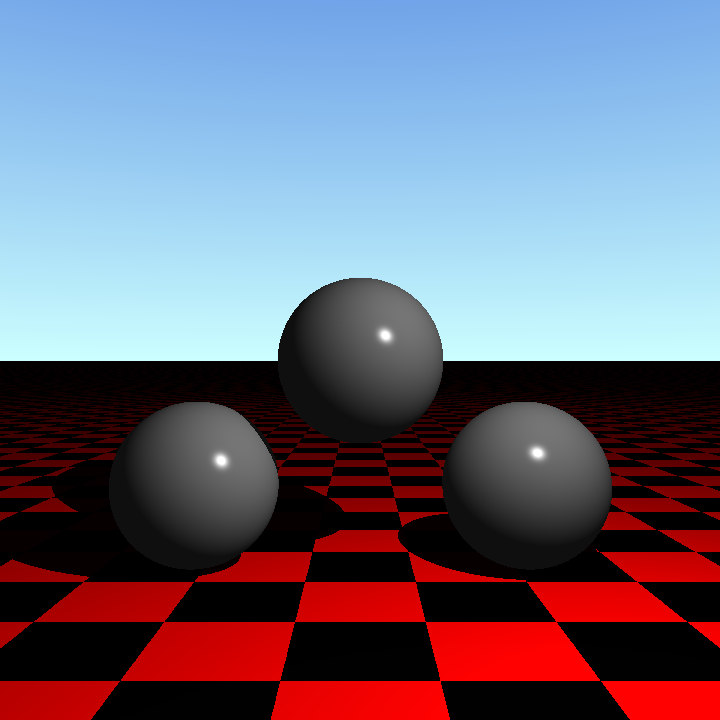
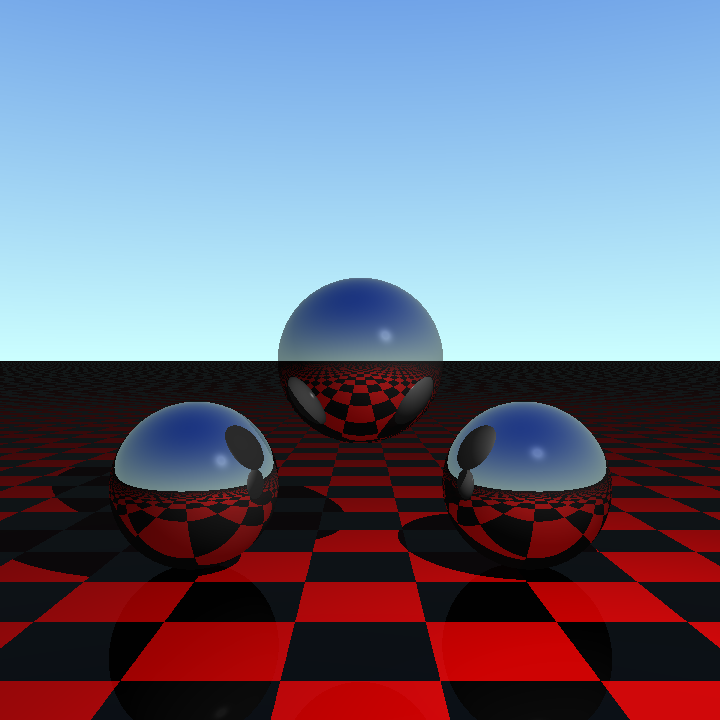
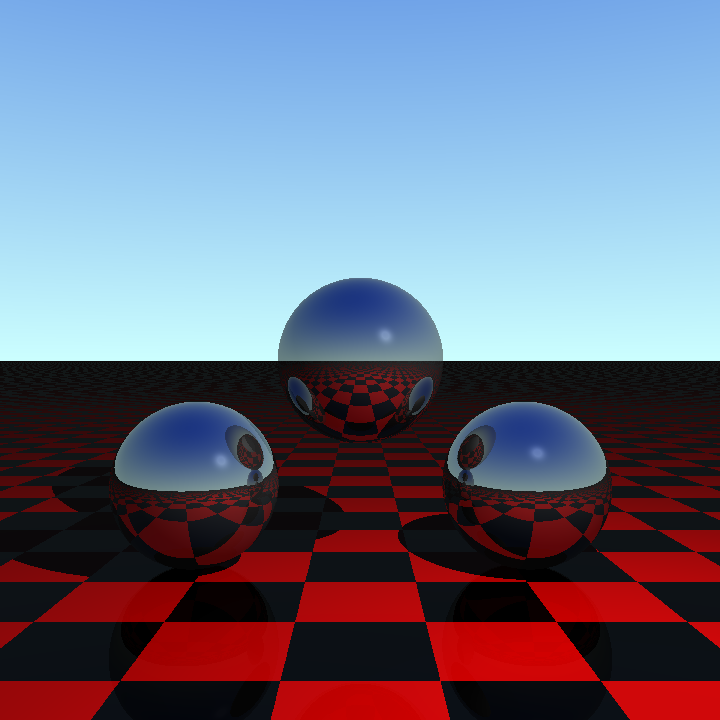
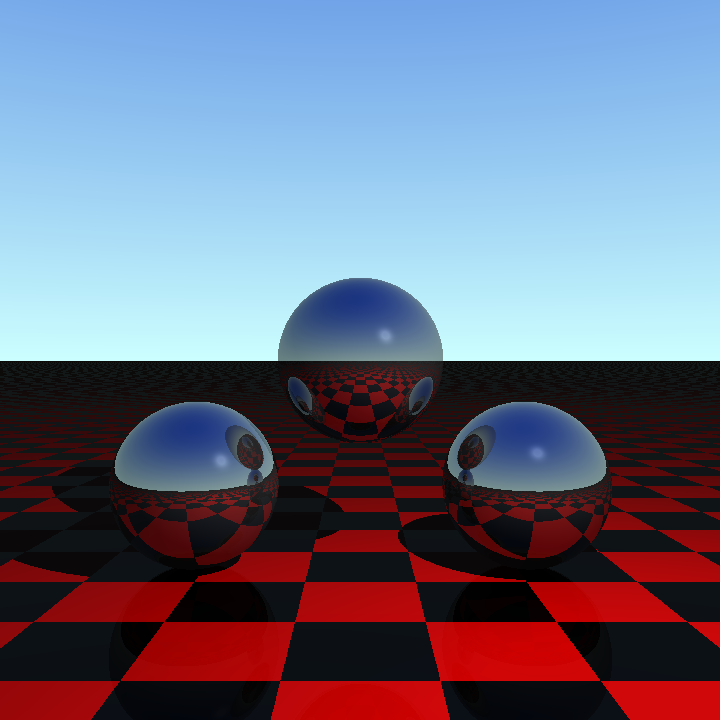
The first image has no reflections at all. The second just has one reflection, meaning that whilst the balls themselves are no longer grey the reflections of them are. As we increase the depth the multiple reflections slowly fill in the picture.
Another optimisation would be to stop reflecting when the contribute is below some small value. I haven't done this currently.
The code so far can be found on GitHub. Next I'll look at adding support for transparent objects.